Getting started with Three.js

Want to build 3D Models/Games with just javascript? Don’t worry, You can! with Three.js you can actually create 3d computer graphics.
Today we are going to check out Three.js. We are going to create a simple 3d animation. So, let's set up and start coding!
# Project Setup
Open the Terminal and create Empty Dir. Here I’m creating squares and create package.json
mkdir square
cd square
yarn init --yes
# Create Required Files
As Three.js works on browsers so we need an HTML file where we can inject our javascript with three.js
touch index.html index.js index.css# Installing Three.js
To work with three.js we need to install it in our project. You can use CDN if you want but I’m using yarn here. Both work fine!
yarn add three# HTML Boilerplate Code
<html>
  <head>
    <title>Squares</title>
  </head>
  <body>
    <script src='index.js' type='module'></script>
  </body>
</html>
# Real Fun Begins Now!
Now we will start our Three.js code. We need to create a few things before actually start putting out 3D objects on the screen.
We need to setup create a Scene, Camera, and Renderer.
import * as THREE from 'three'

const { Scene, PerspectiveCamera, WebGLRenderer } = THREE
const { innerWidth, innerHeight } = window

const scene = new Scene()

const renderer = new WebGLRenderer()
renderer.setSize(innerWidth, innerHeight)

const camOtp = {
  fieldOfView: 75,
  aspect: innerWidth / innerHeight
}
const camera = new PerspectiveCamera(camOtp.fieldOfView, camOtp.aspect)
camera.position.z = 10

document.body.appendChild(renderer.domElement)

renderer.render(scene, camera)
In the above code, we have set up everything we need to start putting our 3D objects. Right now if you try running your project you will see nothing but the default back screen created by Three.js.
To run the project we will be going to use vite it here. You can use other webpack, rollup.js, or other bundlers they just all work fine. So run the below command into the terminal. this should start your dev server.
npx vite --host --port 8888Open the browser and hit http://localhost:8888/ to view default three.js screen.
# Add 3D Mesh to the Scene
In Three.js almost every mesh takes two things i.e. Geometry and Material.
So we can simply consider Mesh = Geometry + Material.
const { BoxGeometry, MeshBasicMaterial, Mesh } = THREE

const width = 1
const height = 1
const depth = 1

const boxGeometry = new BoxGeometry(width, height, depth)
const boxMaterial = new MeshBasicMaterial({ color: '#fff' })
const box = new THREE.Mesh(boxGeometry, boxMaterial)
We have done with creating a 3D square. now it's time to add to our scene.
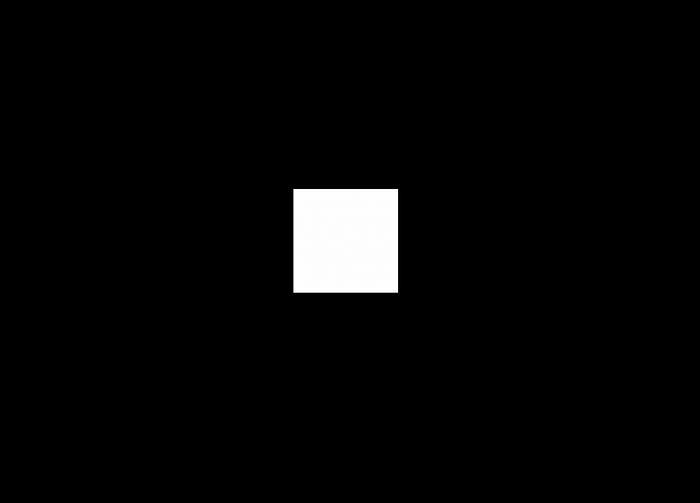
scene.add(box)Now if we go and check our browser you will be able to see the actual mesh on the scene that we have just created!

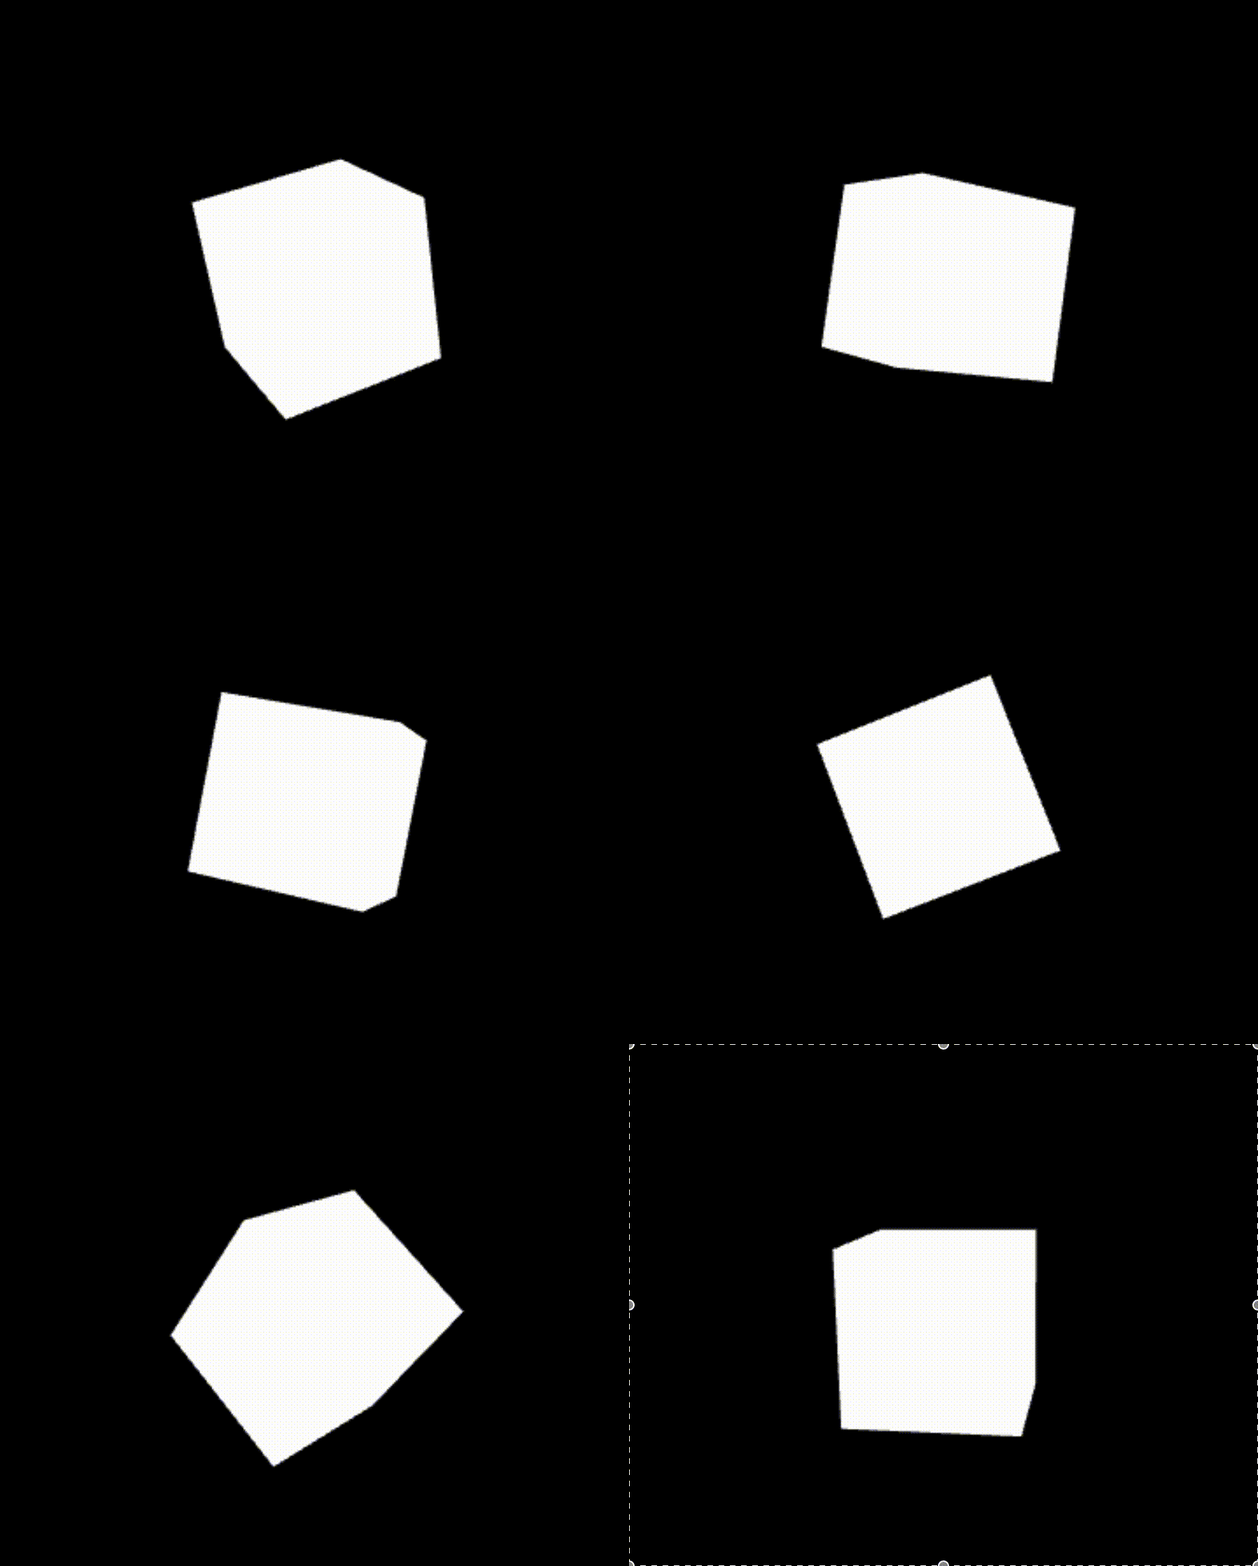
Right now it looks like 2D Square🤔 that's because our cube is perfectly aligned with our camera position but don’t worry it's still 3D. Let me show you🧊. We can rotate our box on any axis.
box.rotateX(10)
box.rotateY(5)
box.rotateZ(10)
Now if we look our box again, it will look in 3D 😃

# Creating Animations
To create animation in three.js, we can make use requestAnimationFrame function, which is already available in the browser’s Web API.
function animate() {
    renderer.render(scene, camera)
    box.rotation.x += 0.01
    box.rotation.y += 0.01
    box.rotation.z += 0.01
    requestAnimationFrame(animate)
}
animate()
This animate function will update your box rotation every time requestAnimationFrame repaints the screen. So our box should be rotating now. Let’s check it out!

Congratulations!! 🙌 You have successfully created a 3D object in Three.js. I believe you gain some basic understanding till now.
If you have any queries feel free to contact me or just comment out here.
Happy Coding!! 💣
